Table of contents
Note: This article is a translation of 「kindでNodeに割り当てるリソースを定義する」. I posted the original on Dec 18 2020, so some information might be old.
There are some famous tools to create local Kubernetes clusters. Kind is one of them. In this post, I introduce the way to allocate compute resources(memory and/or CPU) to nodes of Kind.
Adjust resources for Docker Desktop
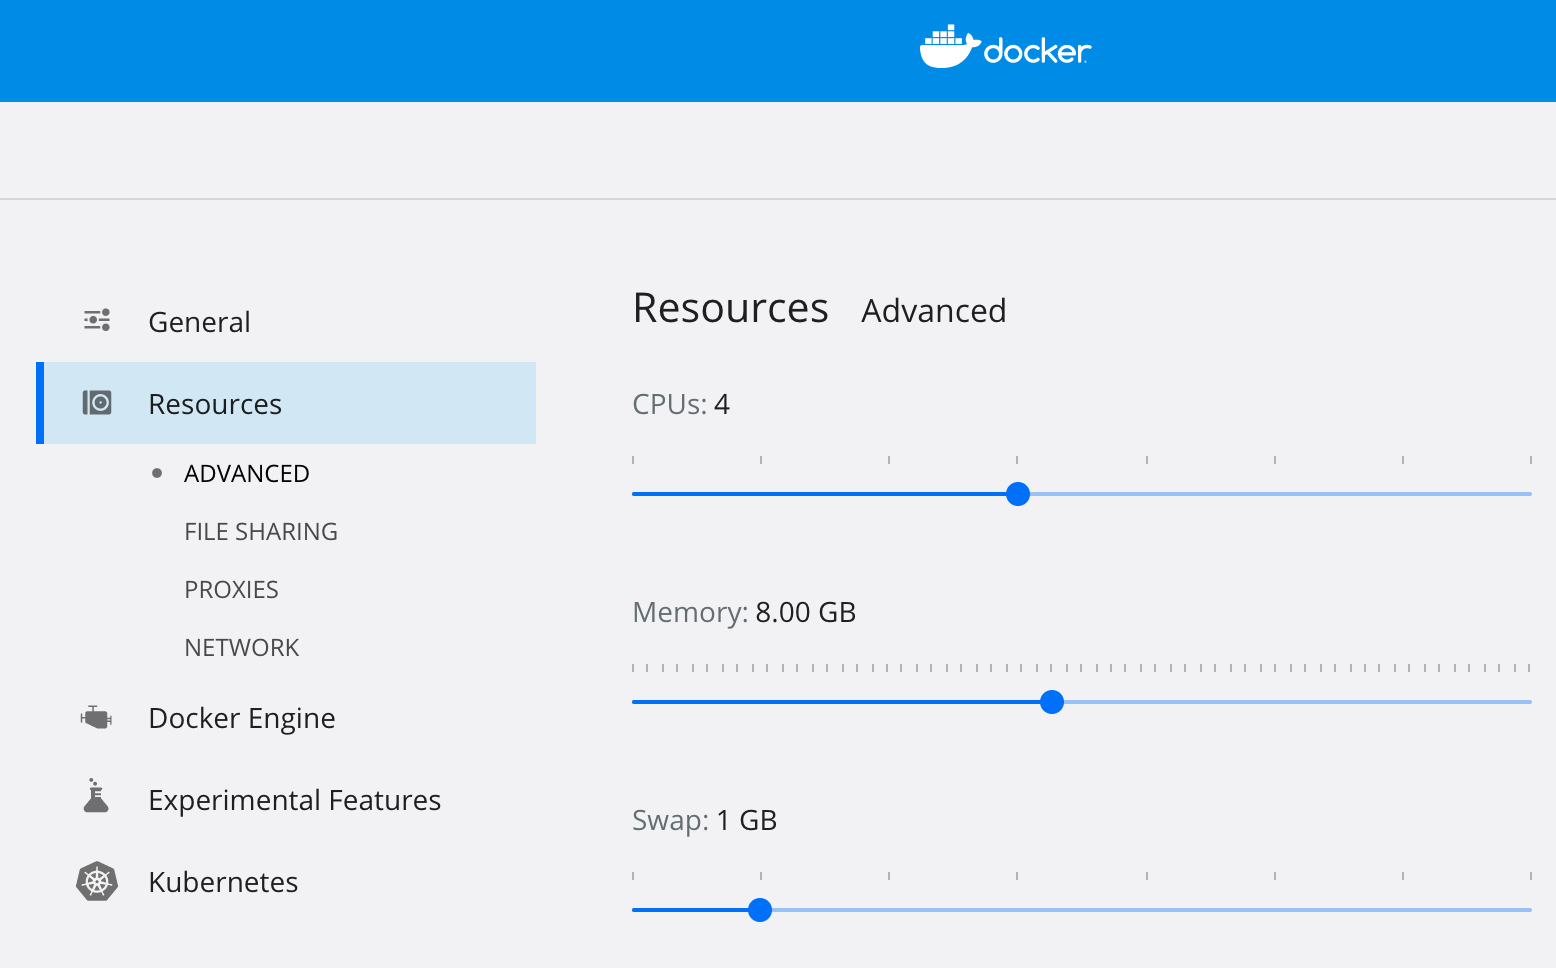
When using Kind, each node of a Kubernetes cluster is built as a Docker container. Therefore, first, configure the resources available to Docker in the Docker Desktop settings. Set them to about 4 CPU cores and 8GB of memory, for instance.
Create a Kind configuration file
Next, we create a configuration file for Kind. You can get a general idea by looking at Configuring Your kind Cluster in the documentation. It is a brief description of the cluster.
Define multiple nodes in a cluster
For now, we will try to configure one Master and one Worker. All we need to do is to define the list under the nodes.
| |
Define resources for nodes
According to this issue, you can define the resource allocation since the Kind cluster is created with kubeadm. However, it does not seem to be a formal method, as you can find a comment like “kubelet configuration object is not respected per node in kubeadm currently, only from init”.
| |
Create a cluster with the configuration file
Use --config option to specify the configuration file.
$ kind create cluster --name=demo --config=$HOME/kind-config.yaml
Creating cluster "demo" ...
✓ Ensuring node image (kindest/node:v1.19.1)
✓ Preparing nodes
✓ Writing configuration
✓ Starting control-plane ️
✓ Installing CNI
✓ Installing StorageClass
✓ Joining worker nodes
Set kubectl context to "kind-demo"
You can now use your cluster with:
kubectl cluster-info --context kind-demo
Not sure what to do next?  Check out <https://kind.sigs.k8s.io/docs/user/quick-start/>
Confirm the resource allocation
You will see that it is properly allocated with kubectl describe node.
$ kubectl get node
NAME STATUS ROLES AGE VERSION
demo-control-plane Ready master 76s v1.19.1
demo-worker Ready <none> 41s v1.19.1

$ kubectl describe node demo-control-plane
Name: demo-control-plane
[...]
Allocatable:
 cpu: 4
 ephemeral-storage: 61255492Ki
 hugepages-1Gi: 0
 hugepages-2Mi: 0
 memory: 3958900Ki
 pods: 110
[...]

$ kubectl describe node demo-worker
Name: demo-worker
[...]
Allocatable:
 cpu: 4
 ephemeral-storage: 61255492Ki
 hugepages-1Gi: 0
 hugepages-2Mi: 0
 memory: 3958900Ki
 pods: 110